Click on a picture for an enlarged version.
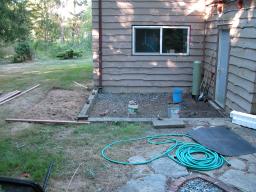
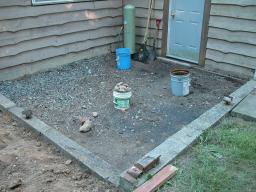
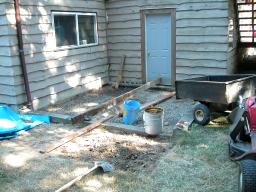
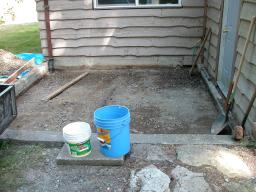
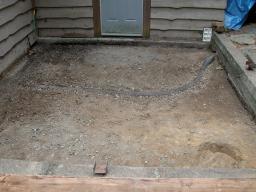
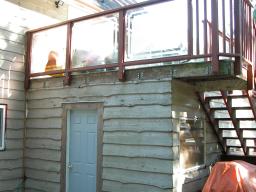
The first step in building the new Tin Shack was to find a suitable area. The house had a shop space behind the garage that was perfect - it even had a foundation wall already in place. However, the stone and dirt floor would have to go. First step was to prepare the area for a concrete pad by removing several inches of gravel, dirt and rocks, then levelling the area. Once that was done, the pad could be poured. Fortunately, my neighbor is a concrete finisher, so the job was excellent.
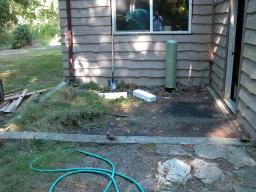
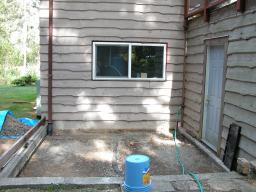
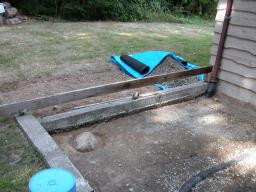
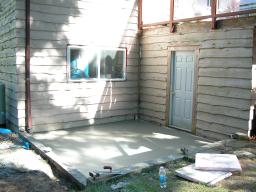
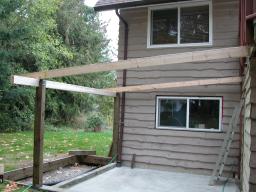
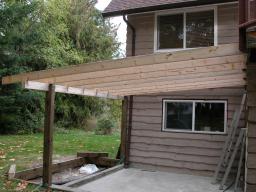
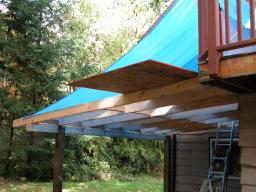
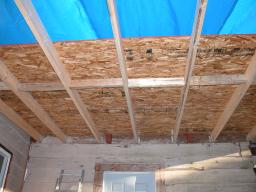
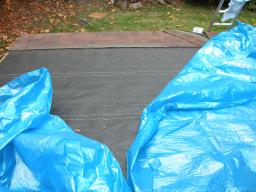
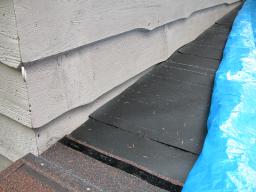
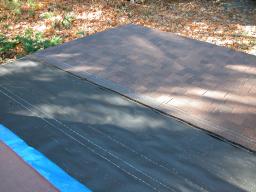
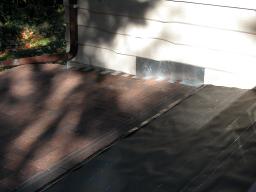
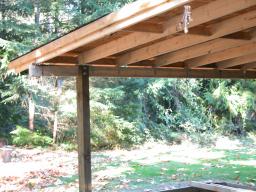
Once the pad was done, time to start on the roof. Due to the design of the foundation walls and the location of the house, I decided to use a modified post-and-beam construction to create the end wall - two rough 4x6 posts topped with a double 2x6 beam. Joists were hung from the garage siding just below the deck roof (for drainage). OSB sheathing covered the roof, followed by tarpaper and fibreglass shingles. The low pitch of the roof was necessary to get the height in the shed, but on Vancouver Island there is virtually no snow load to consider. Some creative flashing work to the existing house siding completed the roof.
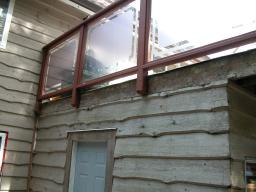
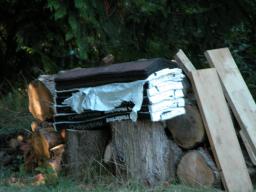
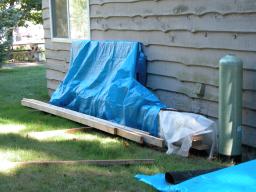
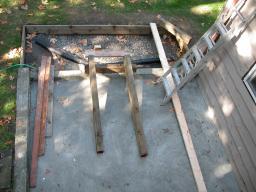
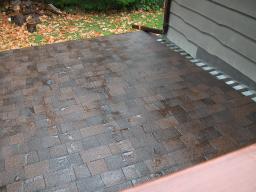
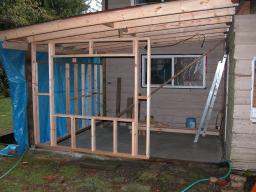
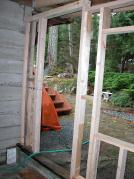
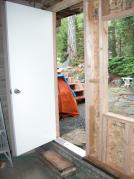
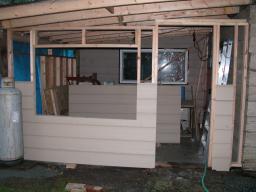
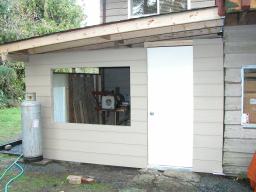
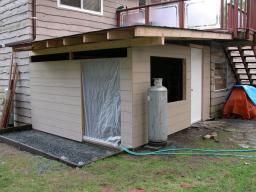
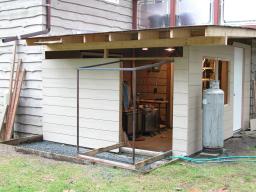
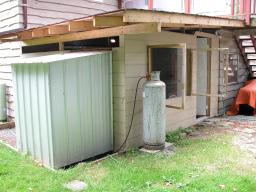
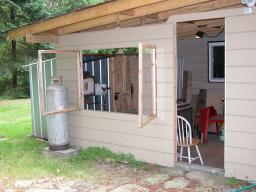
Now the walls could go up. These were build from 2x4 lumber on 16 inch centers, except for the window and glory hole opening. The walls were sheathed with a pre-painted OSB siding product that looked very much like the existing siding on the house. Note the 100lb. propane tank located near the glory hole opening.
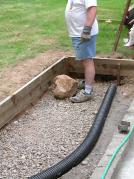
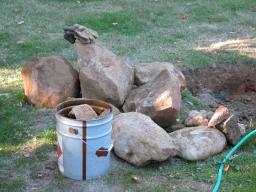
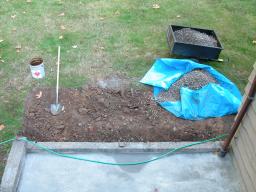
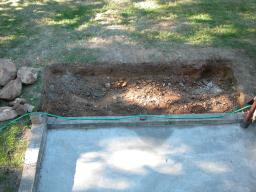
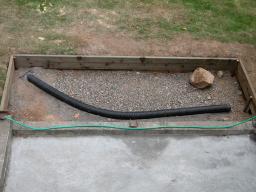
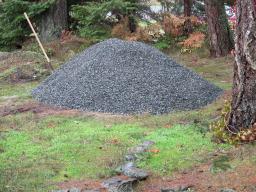
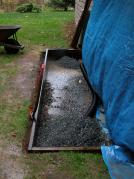
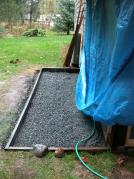
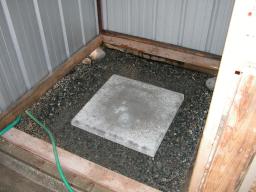
The area behind the shed needed to have a gravel trap for drainage. This was dug out and driveway chips used to fill the space. The clay soil was extremely difficult to dig, and there were some pretty huge boulders in this area.
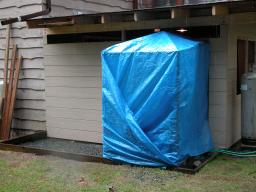
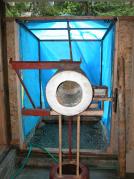
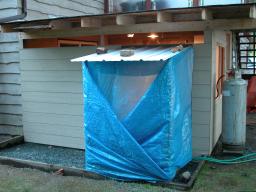
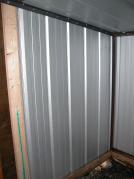
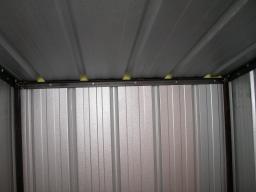
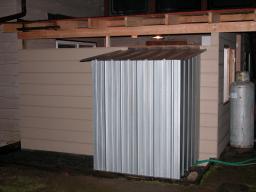
The alcove for the glory hole was constructed from angle iron and a metal sheet called "galvalum". Early in the design process I had decided to place the glory hole outside the actual shop space, but it still needed protection from the elements. Creating a tin shack for the glory hole seemed both fitting and ingeneous.
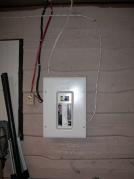
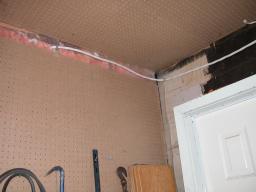
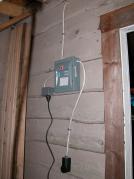
Power for the shed came from a 100amp sub-panel in the garage. An 8ga cable carries 240V to the shop sub-panel where it powers the furnace, annealer, glory hole fan, lights and other 110V items.
Here is the completed Tin Shack.
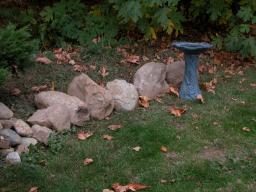
And finally, some miscellaneous pictures taken during the build. That's me in the hot tub, and me carrying the rather large boulder to my rock wall, which was created entirely from boulders removed from the Tin Shack pad and gravel areas. Yikes!

