.
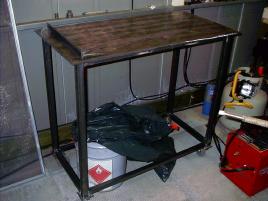
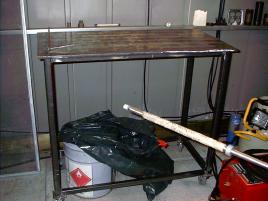
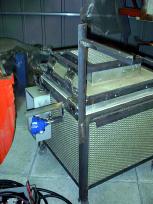
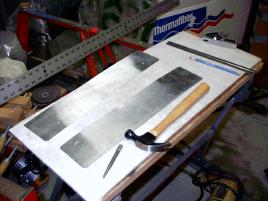
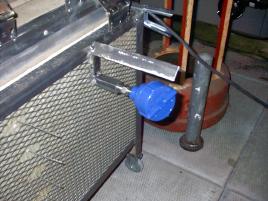
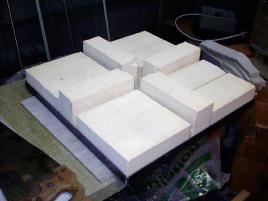
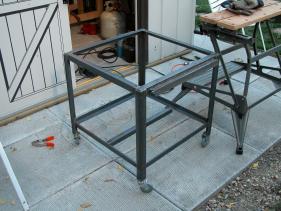
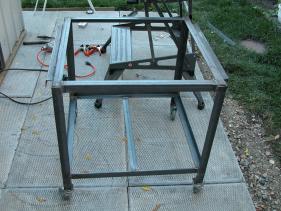
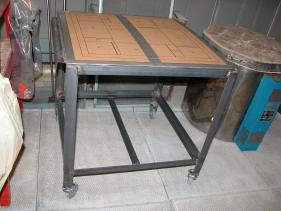
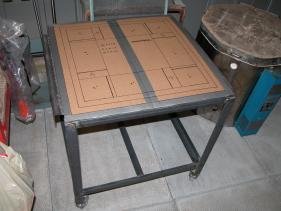
Here are pictures of a new marver I built on the weekend to replace the wooden one. The new annealer features a 3/8" steel top (the wooden annealer had only a 1/4" steel top).

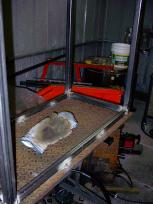
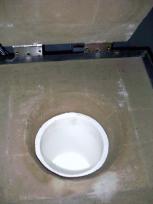
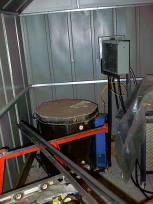
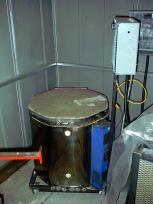
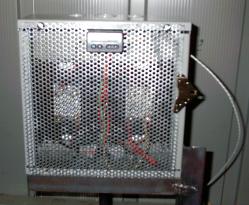
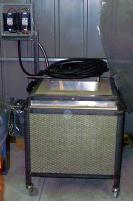
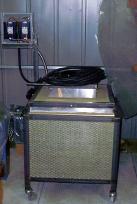
The furnace is complete! The alumina board was painted with protective cement around the crucible port, and the crucible was installed. The furnace was taken to 100F, and is sitting at 100F overnight to "smoke test" everything.
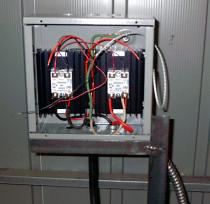
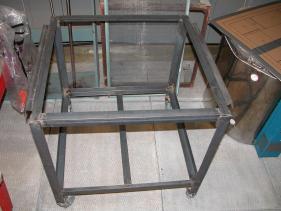
The annealer stand has also been completed. The stand I made yesterday had a bad mount for the controller, so I cut it off today and built a new controller mount. It was also tested to 100F tonight.
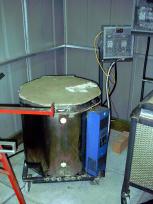
From November 14-16, I completed work on the furnace and did an initial "fire up" to 200F. Everything worked perfectly. Burning out the organic binders does smoke and stink - I was very glad for the shack exhaust fan!
I also started work on a movable base for the annealer and it's controller, but the pictures will come next time. I still have some "unwelding" and "rewelding" do to before it is complete.
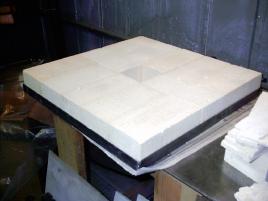
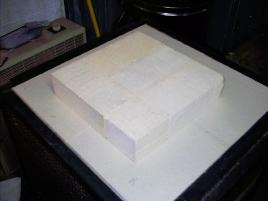
The foot is healing nicely (the cast came off two weeks ago). I've been working on the furnace lids. The bricks were cut, and then held into the lids with tin strips. After cementing the bricks for the gathering port, I coated the "active surfaces" with cement (to protect from the fluxes). Tonight I installed the hinges for the lids, and then built a protection assembly for the thermocouple.
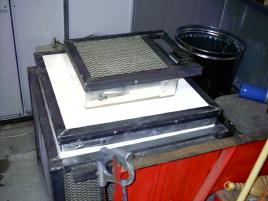
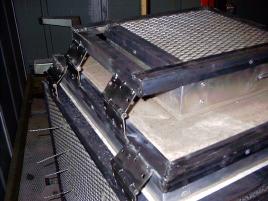
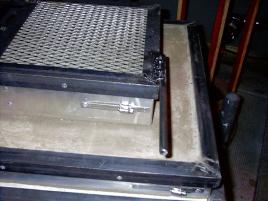
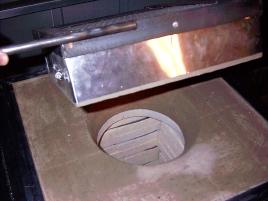
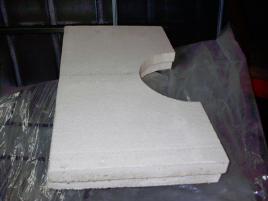
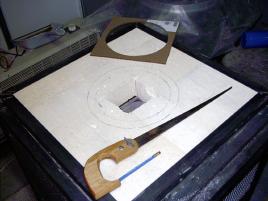
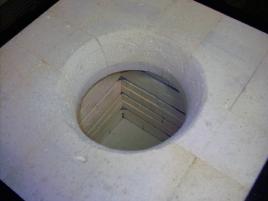
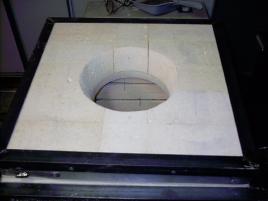

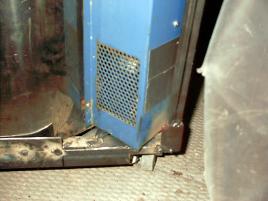
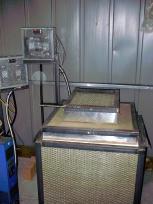
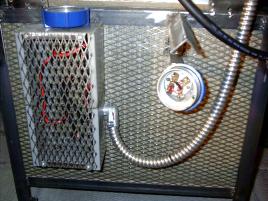
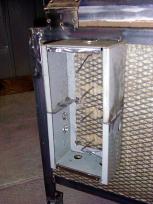
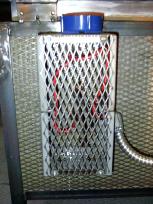
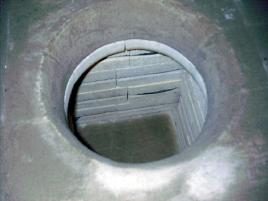
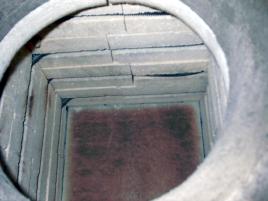
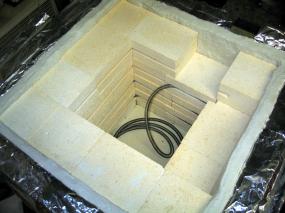
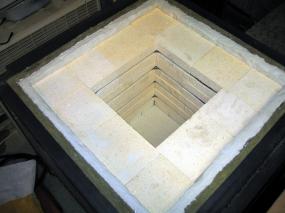
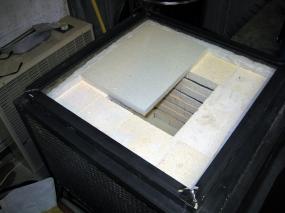
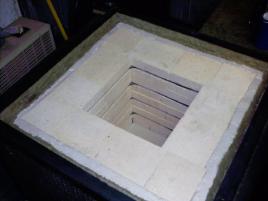
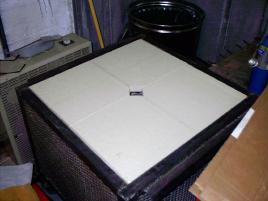
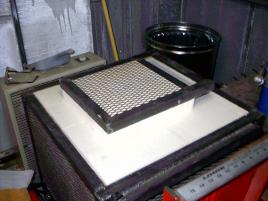
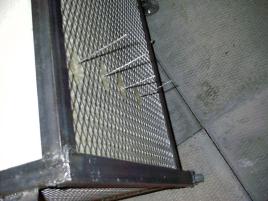
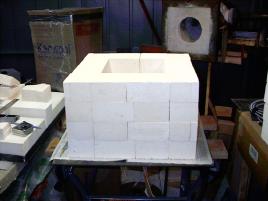
I hand-grooved the vertical channel between element brick courses, installed the bricks and ran the elements. Then I cut the mesh behind the furnace where the elements emerge (to prevent short circuits). Next, I cut the alumina board, trimmed the side refractory material and fitted the alumina board on the top of the furnace. Finally, I cut and fitted the bricks for the furnace maintenance lid and gathering port.
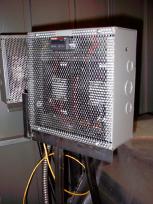
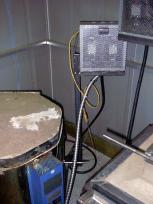
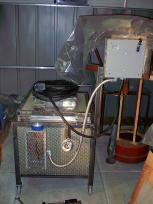
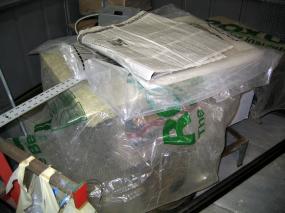
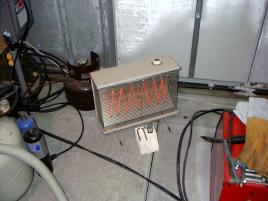
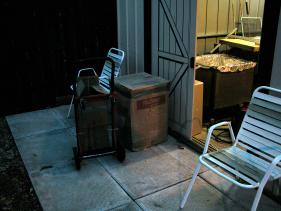
The pictures here show the fitting of the element, the alumina board, the back of the furnace where the elements emerge, and the two lids. Also shown - the studio in winter and my small heater (until the shop is 'hot').

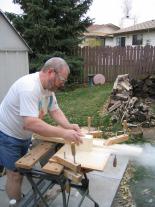
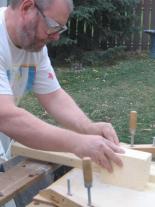
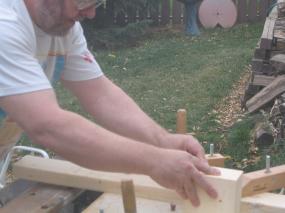
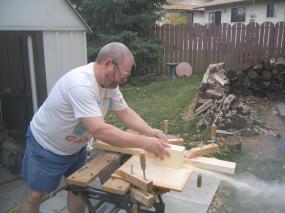
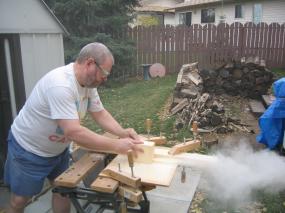
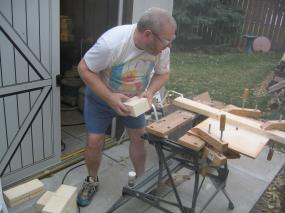
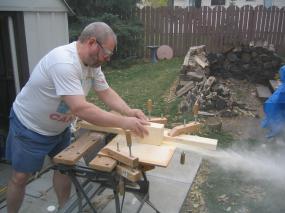
I decided to use a router and a dovetail bit to cut the channel for the element into my firebricks. I designed a plywood "jig" to hold the router and bit, with a fence to guide the bricks. To minimize brick dust damage to the router, I designed the jig such that the hole for the router bit was the size of the bit shank. This worked like a charm.
One big word of caution. I took off my dust mask for these photos. However, ALWAYS WEAR A DUST MASK WHEN WORKING WITH REFRACTORY MATERIALS. Even this short "photo op" exposure left me coughing. I would not do that again.
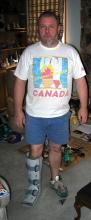
Also, notice that after almost 3 weeks, I decided to cut the bricks without my cast. The foot is healing nicely, and I decided a little exercise for the leg was overdue. I still wear the cast most of the day.
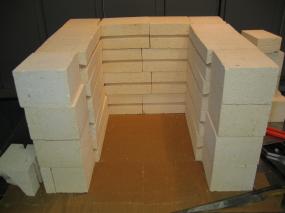
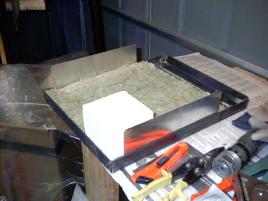
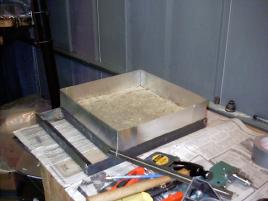
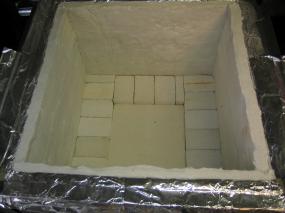
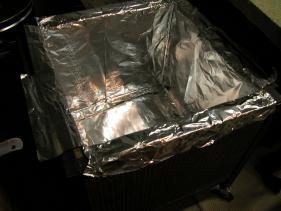
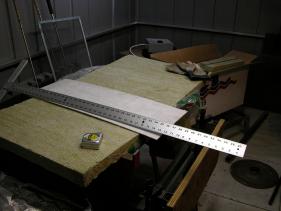
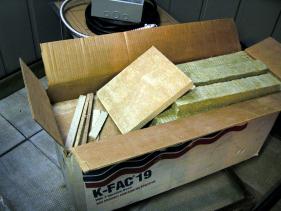
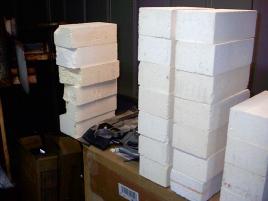
In spite of the cast and sore foot, I started working on the furnace refractory materials. A layer of K-FAC 19 on the bottom, and a layer of 2" Roxul RHT80 on the sides. Then line the sides with one layer of tinfoil, followed by a 1" layer of Frax. Line the bottom with K23 firebrick, followed by a 2" layer of firebrick. A chunk of Alumina board in the depression made by the 2" firebrick, and then the bricks that hold the elements. This can be seen in the "furnace build" picture series.
The bricks that hold the elements were then cut and assembled on a workmate, prepared for the element groove. The furnace elements and lid (with bricks test-fitted) are also shown. Finally, a picture taken after a hard evening's work - mostly testing a camera whose flash had died.

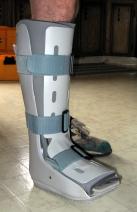
On October 7, 2003 at 10:30 am, I was the victim of "heavy metal". While putting some refractory materials away in my garage, a disk of steel 18" by 2" (just over 100 lbs) fell over and crushed my right foot. As it turned out, a bone in the top of the foot was cracked, in addition to the overall damage caused by "squishing". Since Oct 9, I've had my foot in an "air cast", which has slowed work on the studio tremendously.

Metal for the furnace was purchased in the last week of September. On September 28, I cut the metal to length for the furnace according to templates I had made from the "build it" video. Cuts were made using a cheap mitre saw with a metal composite disk.
On Sept 30, I tried some test welds with my MIG welder (Lincoln MIG-PAK 15, 220VAC). I made some lap joints and added triangles (scrap from some bevel cuts) to the angle iron. The welds didn't look great, but they held despite all my attempts to break them.
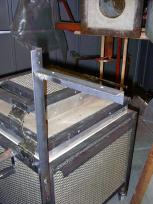
On Oct 2, I tried making more test welds after buying a welding book. This time I made several "butt" joints, as these are what is used on the furnace frame. These were also OK for strength, so I began making the main furnace frame. I started at 11am, and finished completely by 3pm. The frame is 25" by 25" by 22" (not counting the wheels), and made of 1-1/4" angle iron except for the vertical supports which are 1-1/2" angle iron. After completion, I tested the frame by standing and jumping on it for a few minutes. It is sturdy.
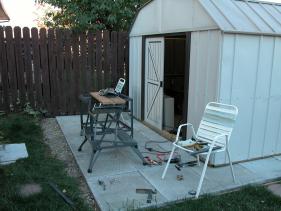
Here are some pictures of the finished furnace frame, plus my welding setup. I weld outside for ventilation.
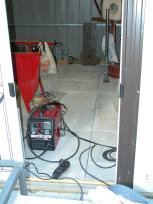
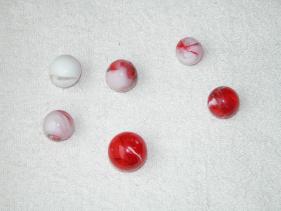
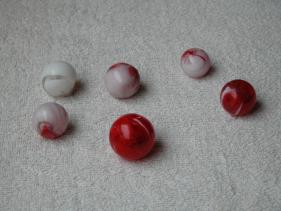
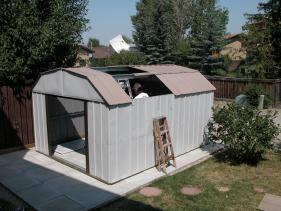
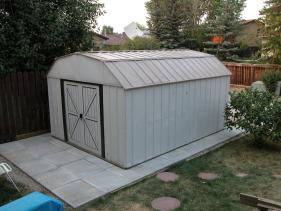
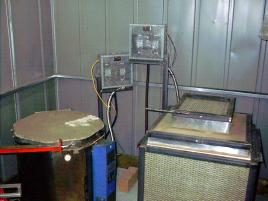
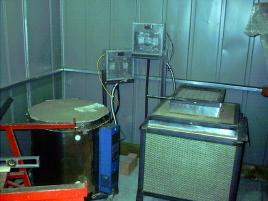
On September 13, the current equipment was 'fired up' for a full field trial. Items missing were the kiln and a glory hole yoke (both still to be built). The 'blowing day' was a complete success, making 6 small marbles from cane over a 3 hour period. Both annealer and glory hole worked fantastic!
The shed didn't get too hot, though the fluorescent light in the roof peak overheated and turned itself off (thermal overload protection). Additional venting will be required over the door.
The annealer came up to temp. (890 deg. F.) in about 20-25 minutes, and the glory hole came up to temp. in about 30 minutes. I started with 8 lbs. propane, but reduced it to 6 lbs. (using the regulator) after the glory hole was at temp.
In all, a very successful first day's 'blowing'!