Just after Christmas I shut down the furnace so that I could do some needed minor maintenance and also replace the crucible. Maintenance consisted of re-cementing the two lids in places where glass had tagged the lid and removed the cement. As for the crucible, it's had 72 charges and so is due for replacement.
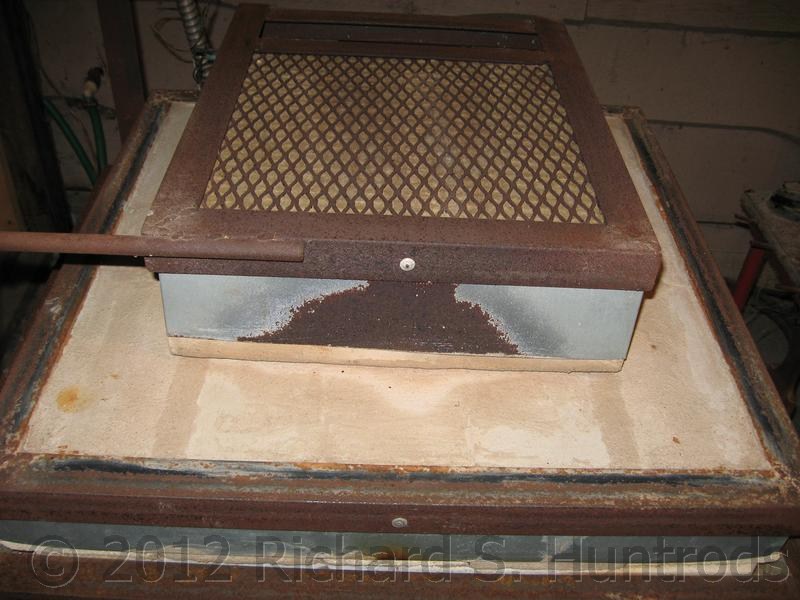
On March 29 I removed both lids, then carefully lifed out the alumina board and finally the crucible. The furnace has been running on and off since 2006 when it was moved from Calgary to Vancouver Island, so this was a good time to see how it looked.
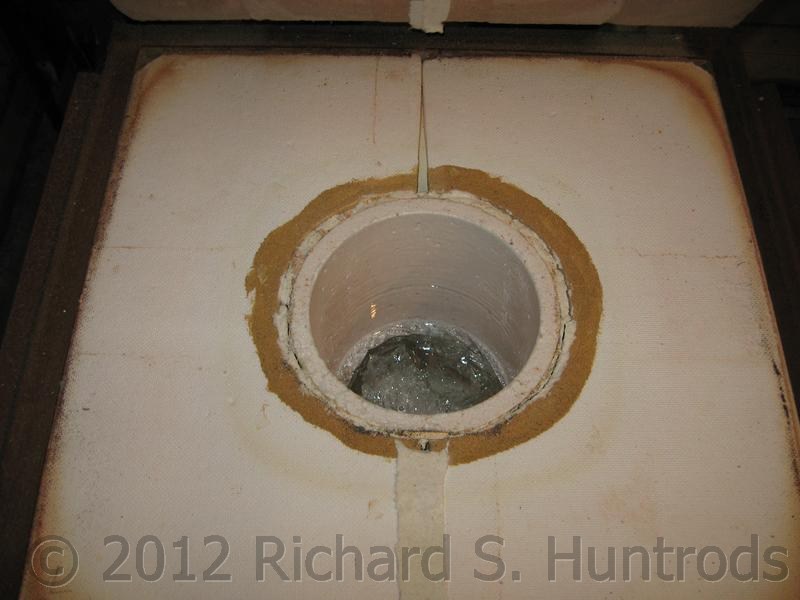
Once it was all open, I could see that the elements were sagged but in excellent shape, as was the entire furnace. The removed crucible appears in good shape. There is evidence of the very first heating where my cullet boiled over and toasted the first furnace's bricks. Inside there are divots in the walls from all the melts, but overall it's in remarkable shape.
I mixed up the mortar and applied cement to the furnace lids as well as the edges of the alumina board. Once things have dried, I will reassemble the furnace and test it our.


Once the cement had cured overnight, I reassembled the furnace. I started by installing the new crucible, then added the alumina board. Between the two alumina halfs and around the crucible I installed fibrefrax to act as a gasket and keep glass fumes away from the elements.
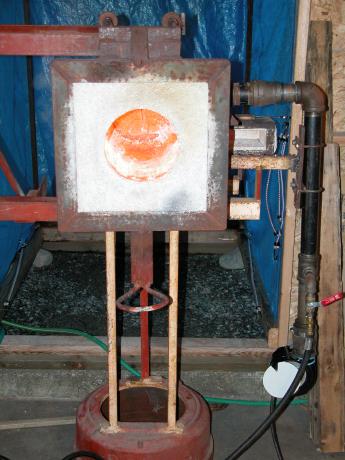
Then I installed the maintenance lid, the door shutoff and finally the gathering port lid. I vacuumed off the furnace, paying careful attention to cleaning anything out of the crucible, then started the furnace heating. It was sitting at 50F, so I increased temp to 75F, then 100F, 125, 150, 175 and finally 200F. As it reached each temp I would increase it to the next setting. Now at 200F, I will leave it overnight to allow the cement to cure and any water vapor to dissapate.

The furnace has been running 24/7 since late December 2011, but it was time to turn it off as we were travelling to Calgary for a visit, and I didn't want to leave it unattended for that long. After powering down and letting it cool, didn't complete until we had returned, it was time to inspect the furnace and perform any necessary repairs.
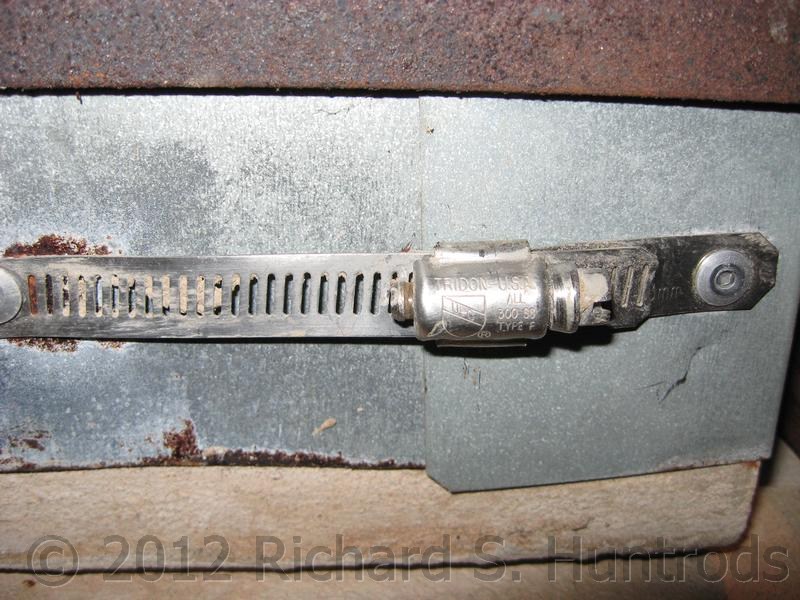
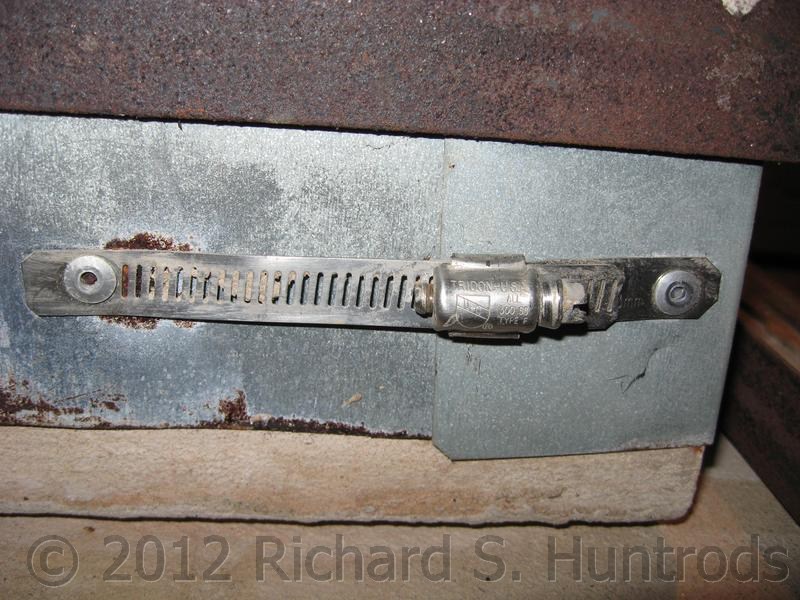
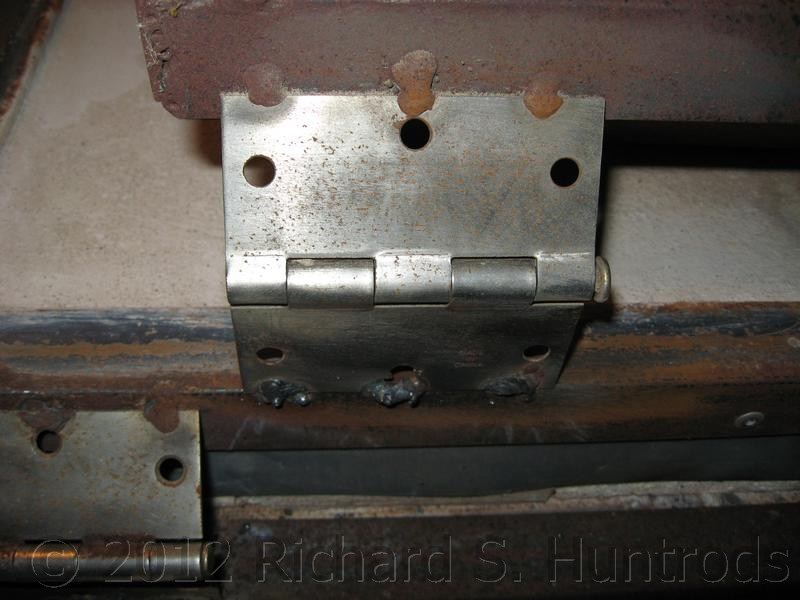
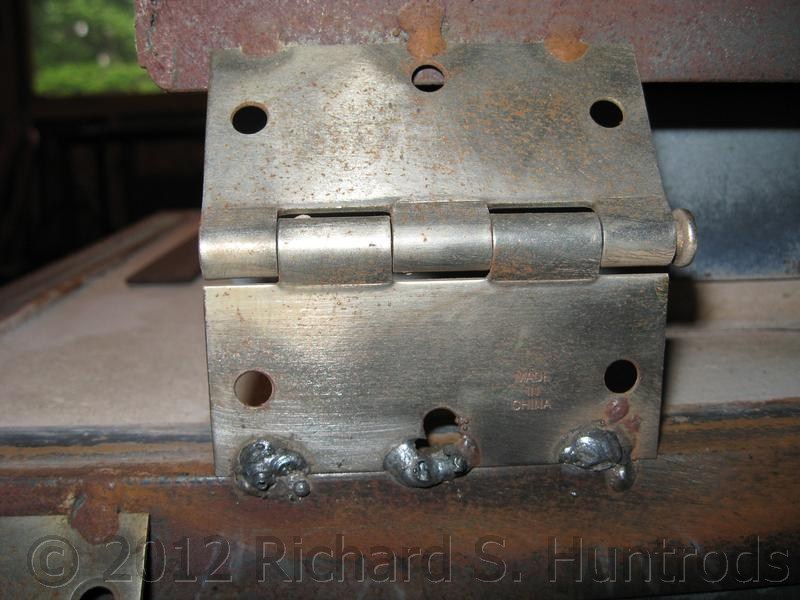
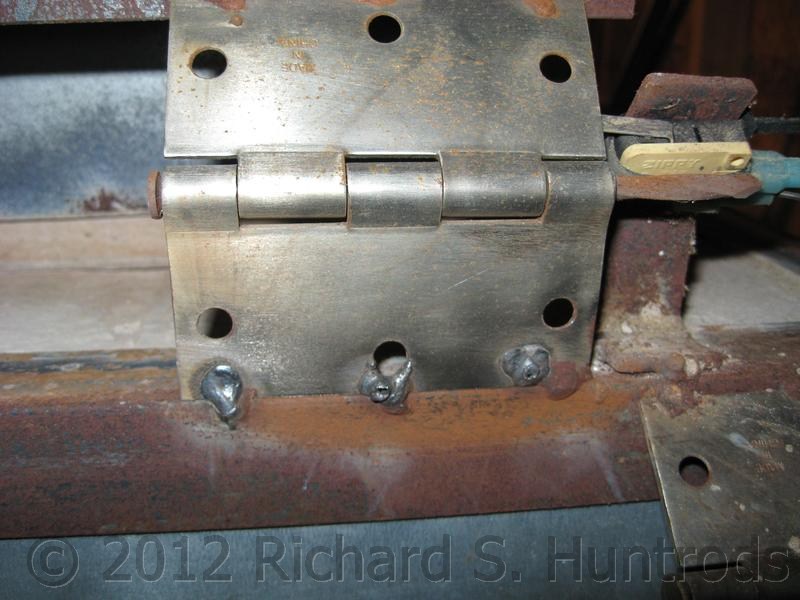
A quick inspection showed everything to be great with the exception of the gathering port lid, which always sees the greatest heat. It had a few cracks in the mortar coat, so I decided to refresh that. In the process I discovered the right hinge weld had broken, but fixing that was quick work with the welder. Once the mortar coat was dry, I started to ramp up the furnace. I did notice a slight gap at the front of the lid due to the lid not quite sitting flat, but will have to address that on a future maintenance. One of the clamps that holds the bricks in the lid with the metal flashing had also come off but only required a new pop-rivet to correct.
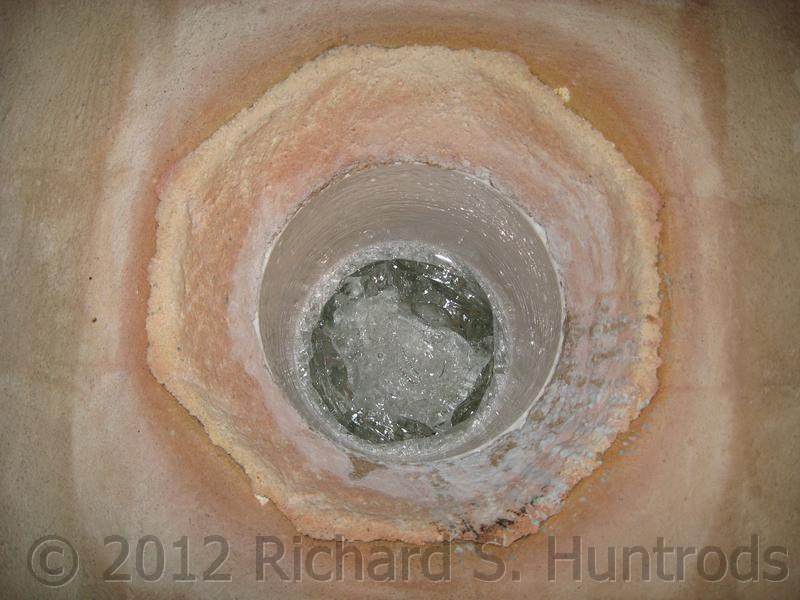
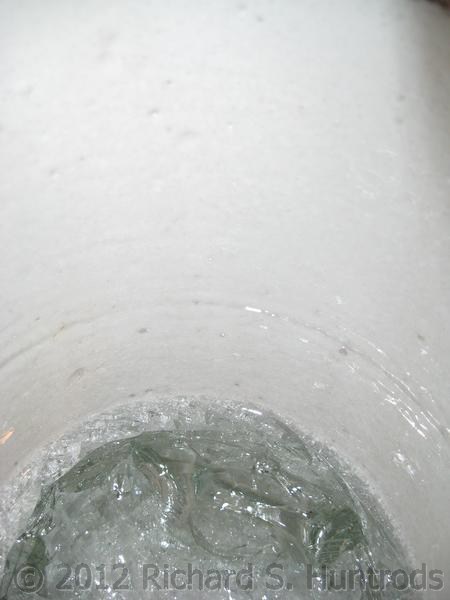
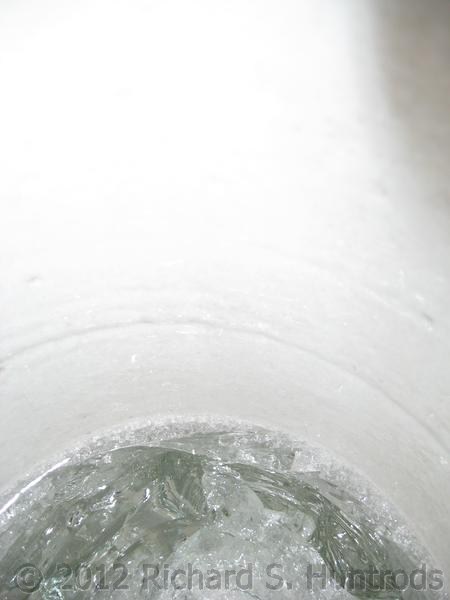
The crutible still looks great, with the one major wear line coming from 2005 when the furnace sat idle with about half a pot of glass at 1850 for many months. Idling at 1300 should now prevent further occurrences. However, I did notice one pit in the crucible about 2 inches from the bottom. It's just under 1/8 inch diameter and just under 1/4 inch deep, so the crucible will have to be replaced fairly soon as these things don't get better. Eventually that pit will penetrate the pot, and sitting so low glass will flow out. For now however I just will watch it.
Otherwise the furnace seems in great shape.

During the summer of 2010, a new propane backup generator was installed to supply power requirements in the event of a power disruption. (reference link: Huntrods Zone - Generator)
In the end, a 500 gallon propane tank was installed to run the generator. With that quantity of propane, I decided to have the gas installer run a second line from the tank to the Tin Shack to deliver propane for the glory hole and my torches. This was completed in the fall of 2010. However, propane pressure considerations and a busy schedule meant that the final work was not completed until February 2011.
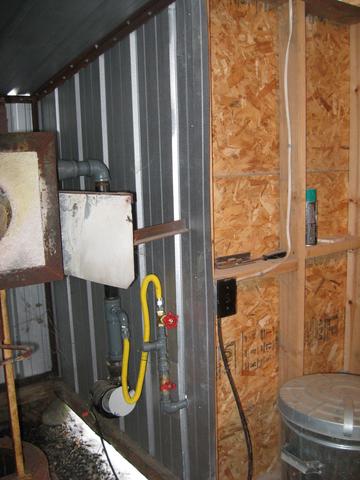
The propane supply from the 500 gal tank is as follows: Tank regulator (first stage) supplies 10 psi to the generator regulator, and to a second regulator near the Tin Shack. The generator feed is 14" water column (.5 psi) from it's regulator. The Tin Shack is supplied with 2psi propane from it's regulator. The shop supply is split into a 3/4" pipe that supplies the glory hole, and a 1/4" copper line that supplies two quick connect (QC) fittings to feed the two torches.
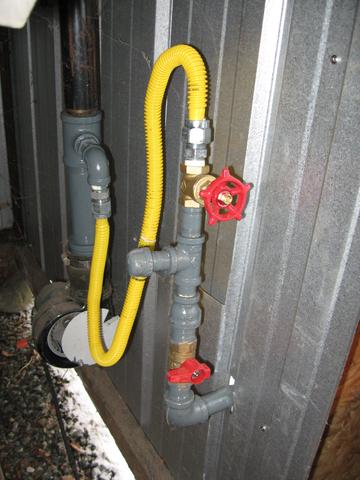
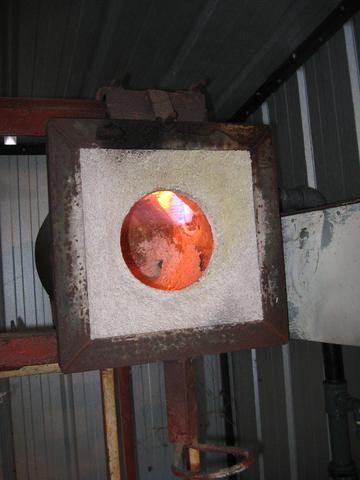
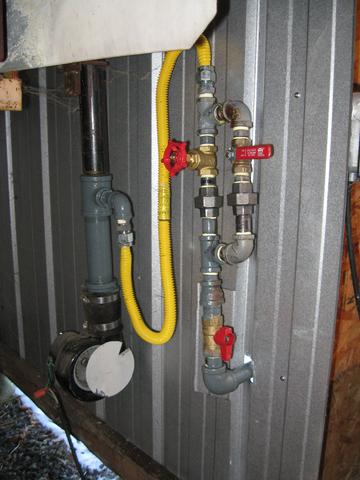
Glory hole feed passes through a ball valve (main shutoff for GH). This is then reduced to 1/2" and split into a main feed path controlled by a gate valve, and a bypass feed controlled by a ball valve. The GH is lit and operated using the main feed (gate valve). The gate valve allows for fine control of the flame. The bypass with ball valve is used to supply addional gas to produce a reducing flame 'on demand' when reduction is required. There is one picture below showing the GH feed without the dual feed path. This was an early version before I decided to add the reduction fuel bypass.
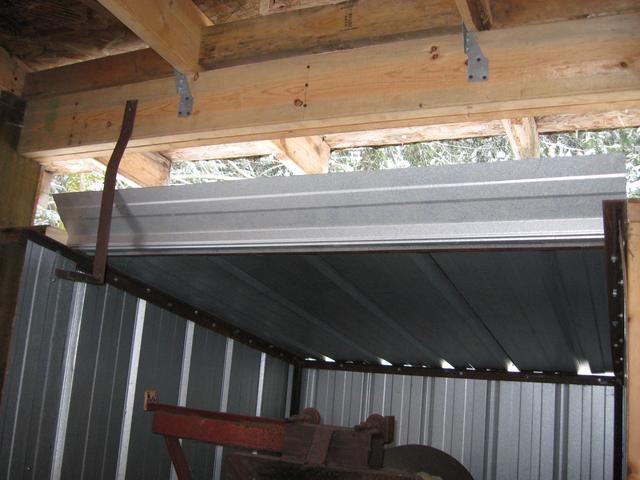
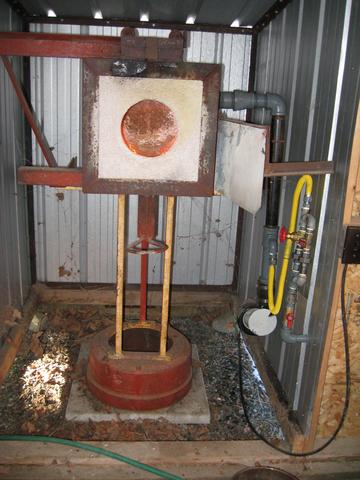
The gas inspector checked out both the generator plumbing AND the Tin Shack plumbing and approved both. He did ask for the 2x4 above the glory hole to be removed and additional metal flashing to be placed around the glory hole, which was done and is shown in the pictures.
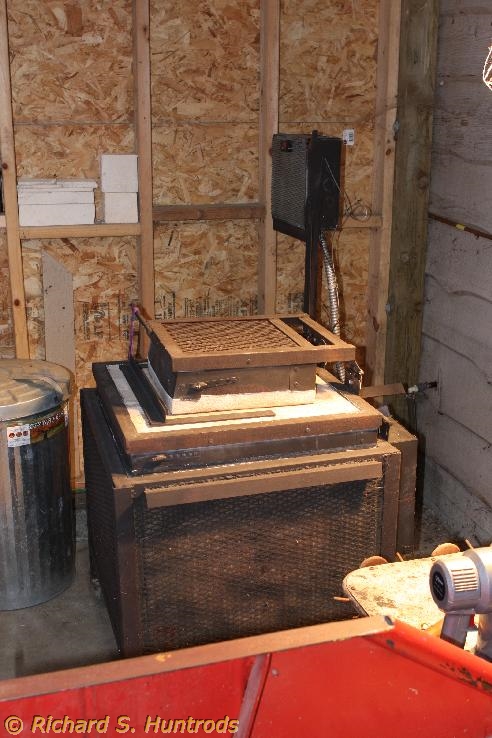
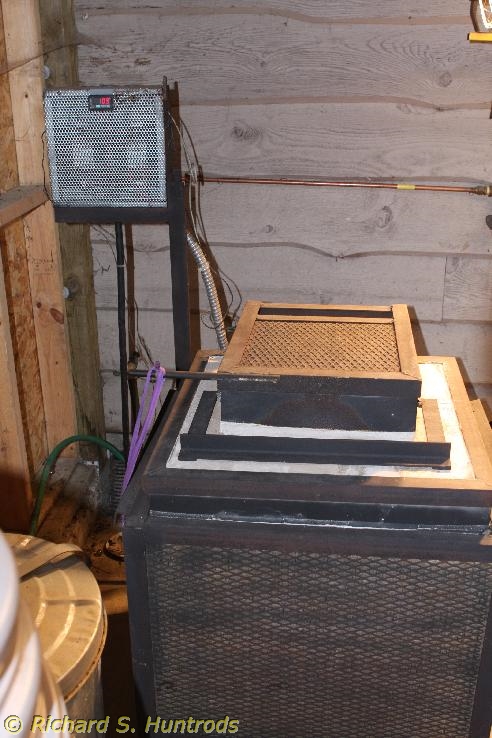
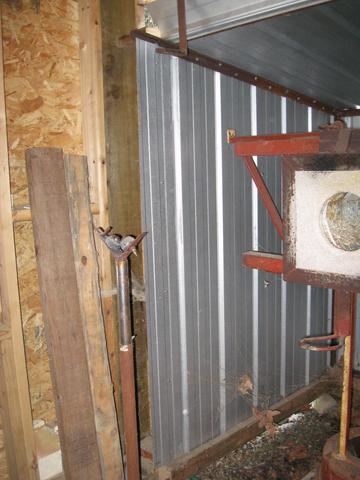
Below are some pictures of the new Tin Shack propane plumbing. Click on a picture for an enlarged version.
Photos of some maintenance activities in the Tin Shack Studio (Fall 2006)Click on a picture for an enlarged version.
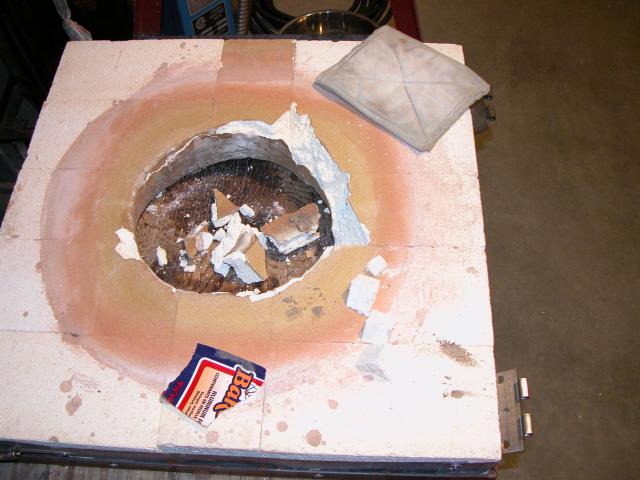
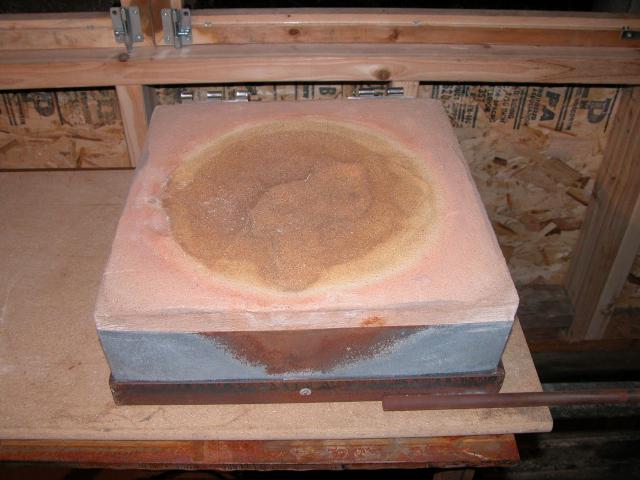
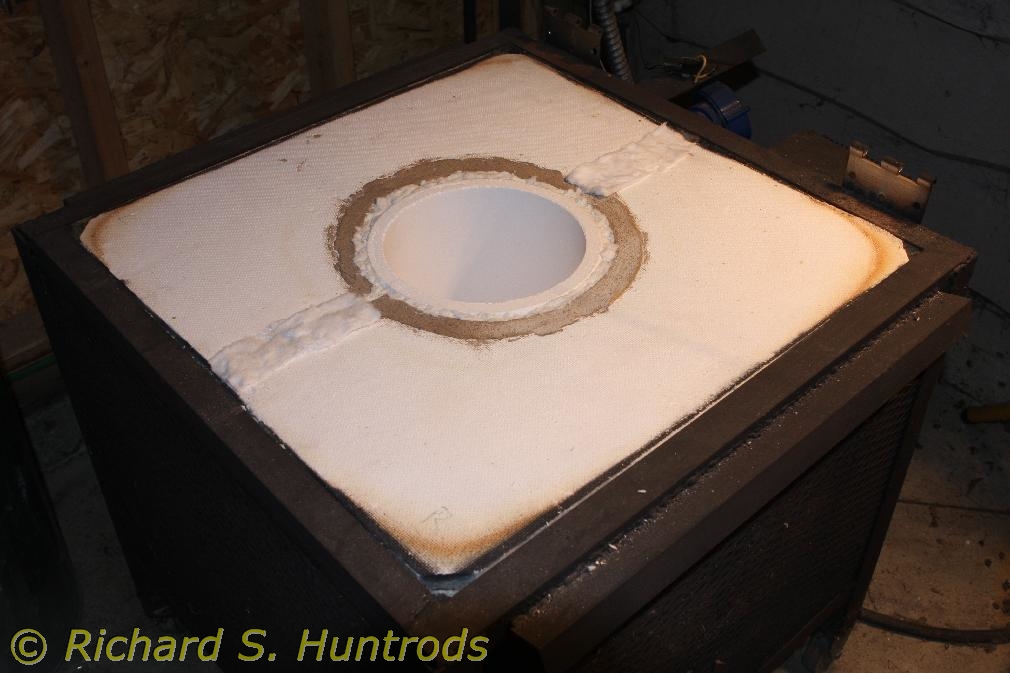
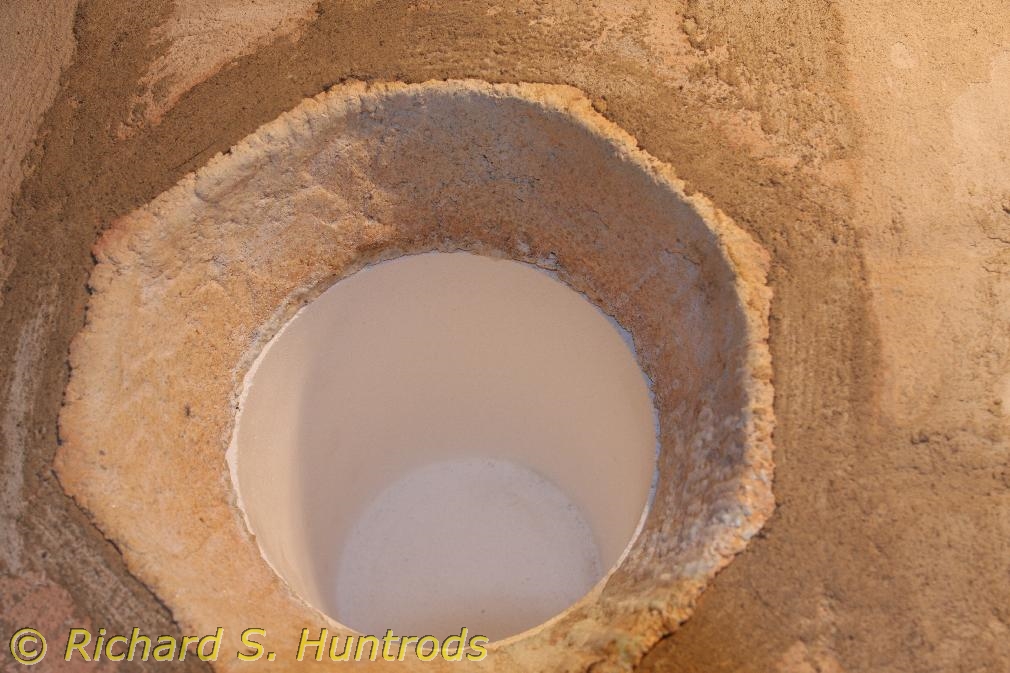
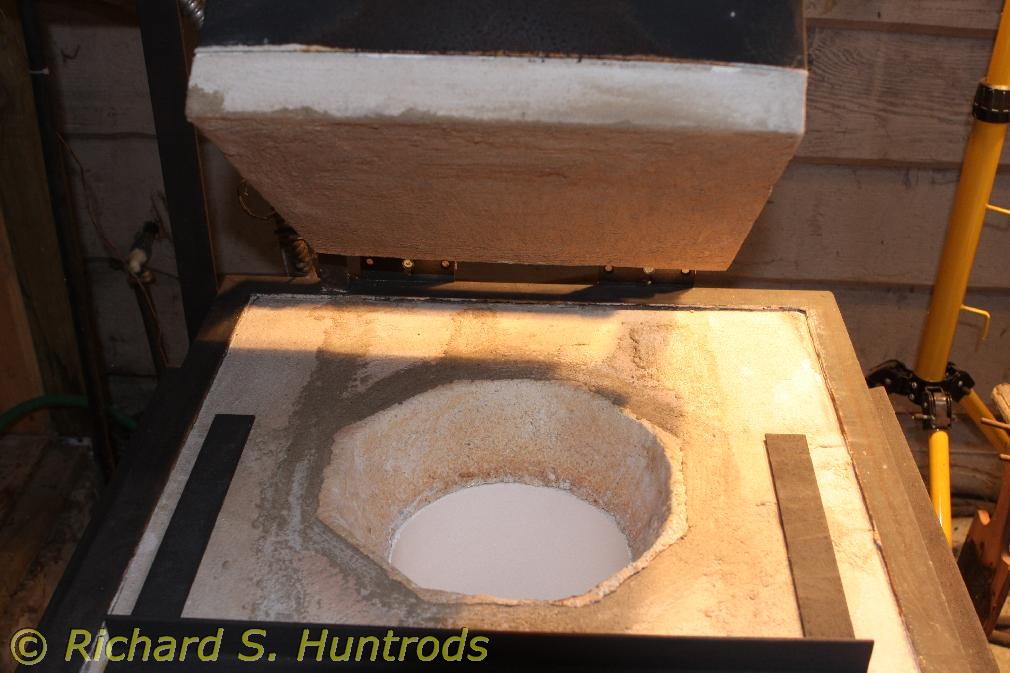
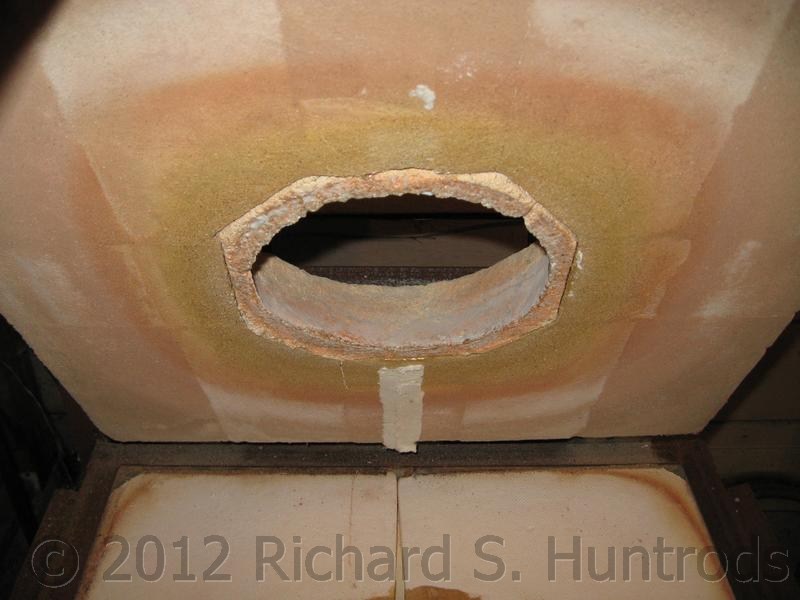
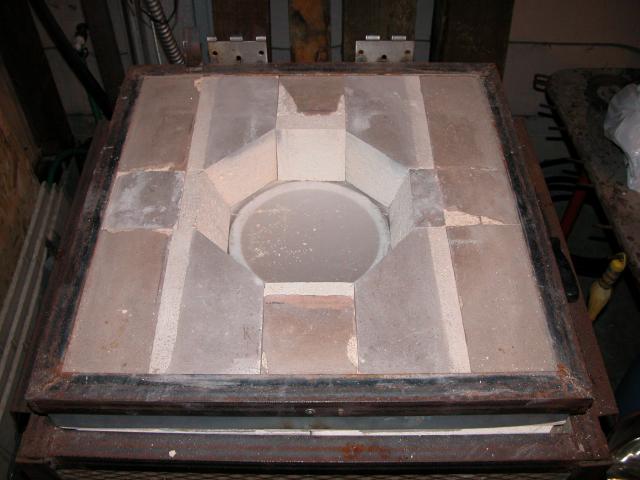
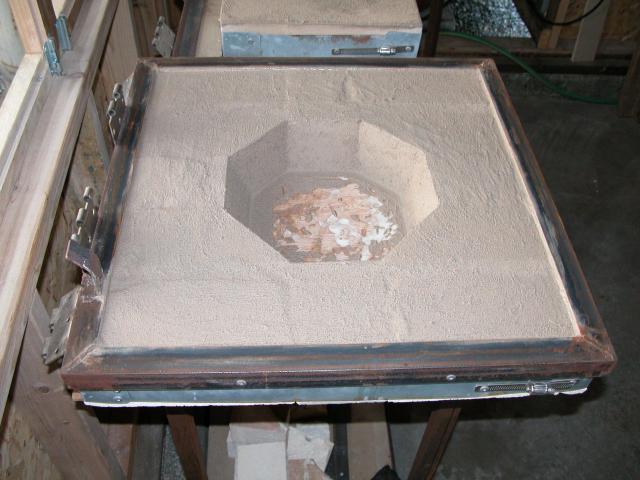
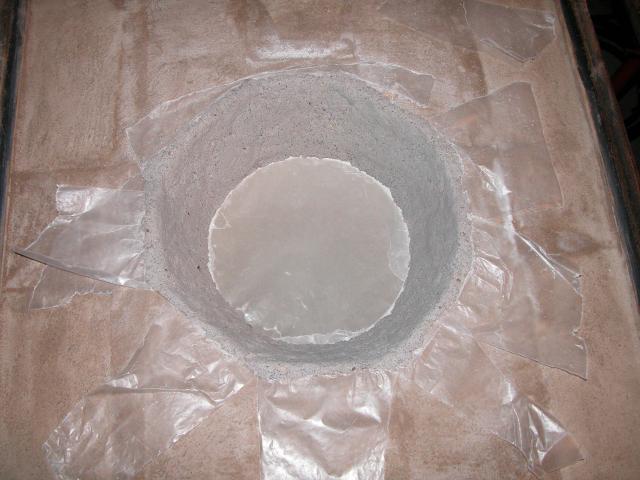
After removing the old bricks and cleaning them up, time to build a new gathering port. This time, rather than cutting a round opening, I decided to make an octagonal opening. Later, the rammable would fill in the space.
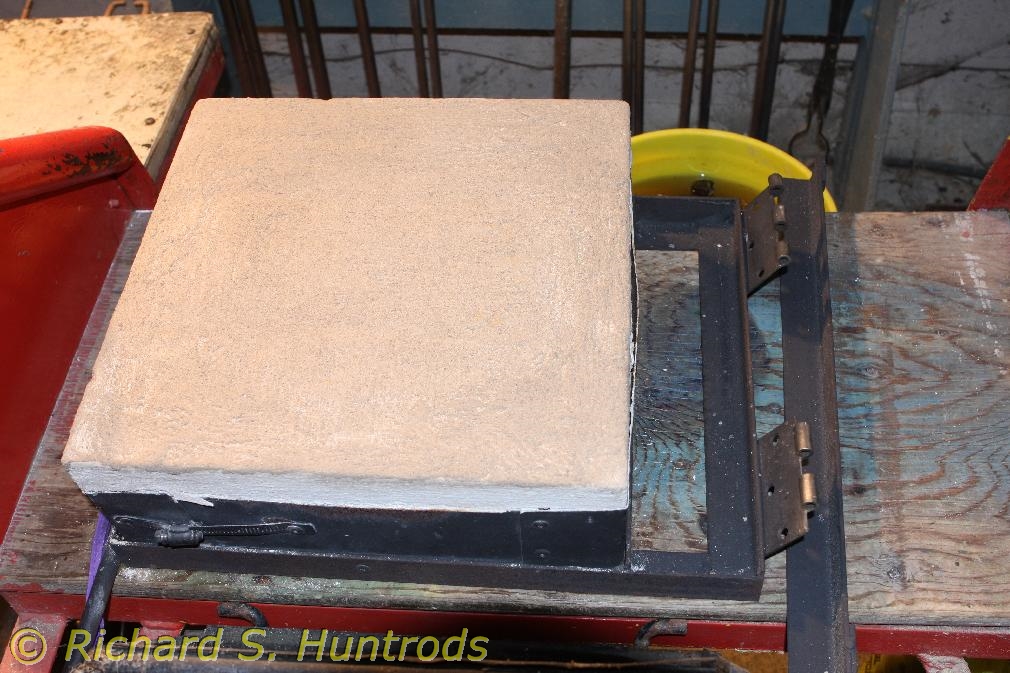
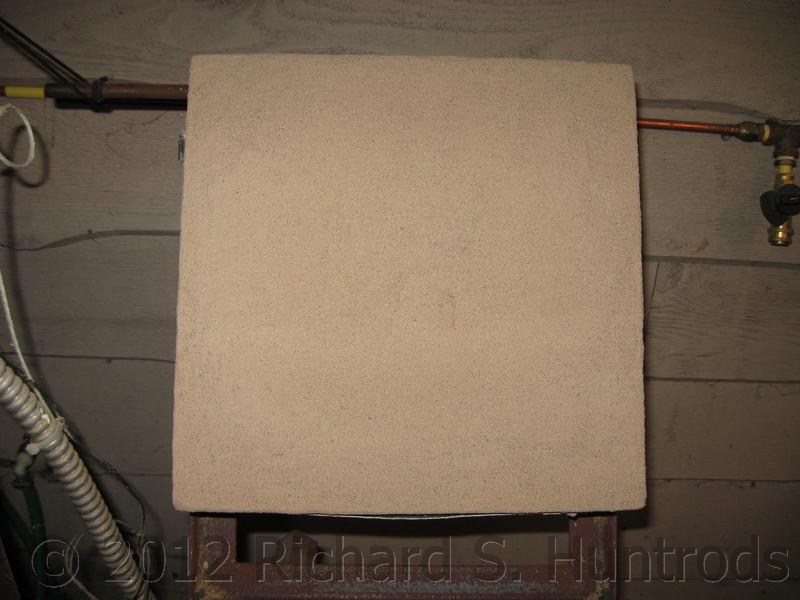
Once the gathering port was done, time to coat the lids with high temperature cement.

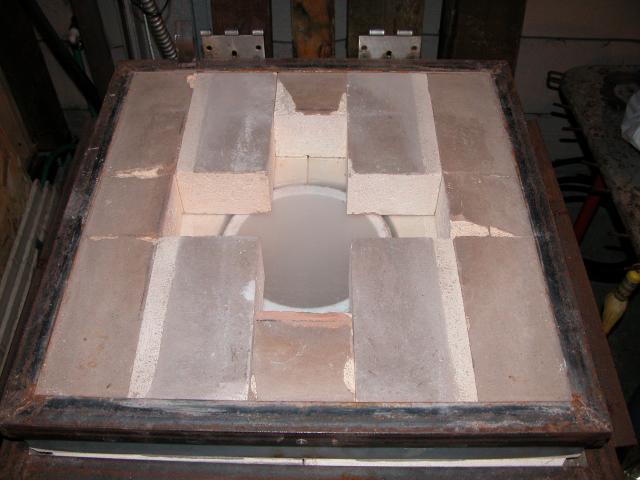
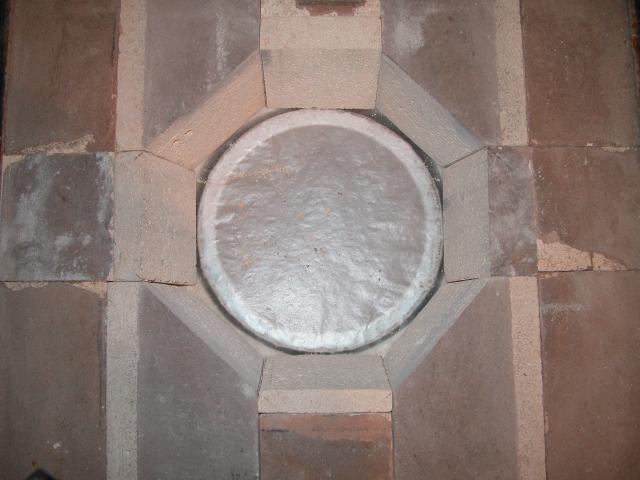
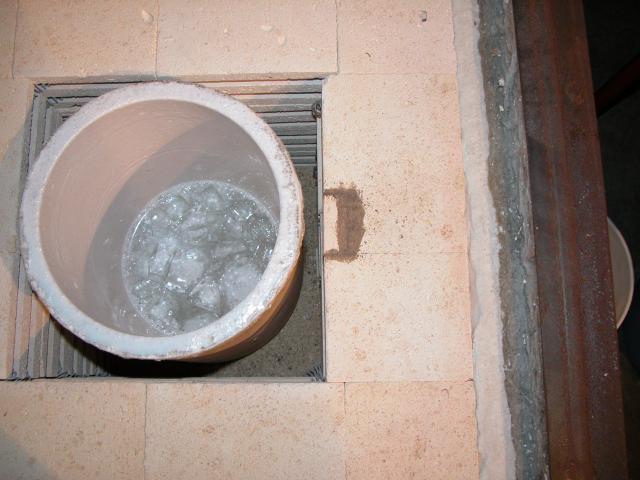
Before creating the rammable gathering port, time to do a bit of furnace maintenance. Some glass-eaten areas were cut out and new brick cemented in place. Then the alumina board was cut to the crucible opening, given a coat of cement, and put in place.
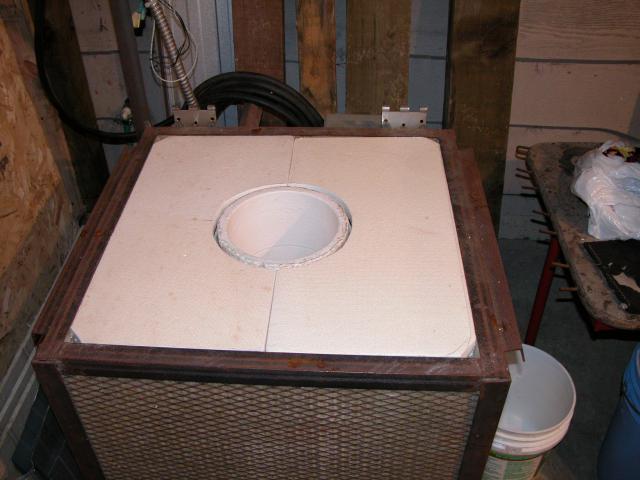

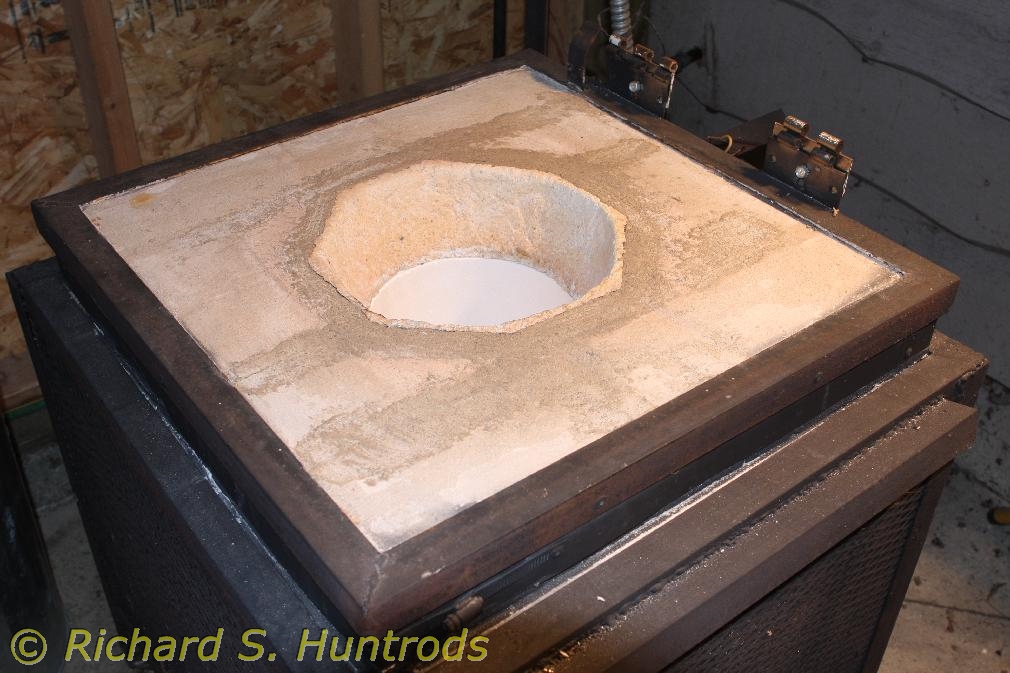
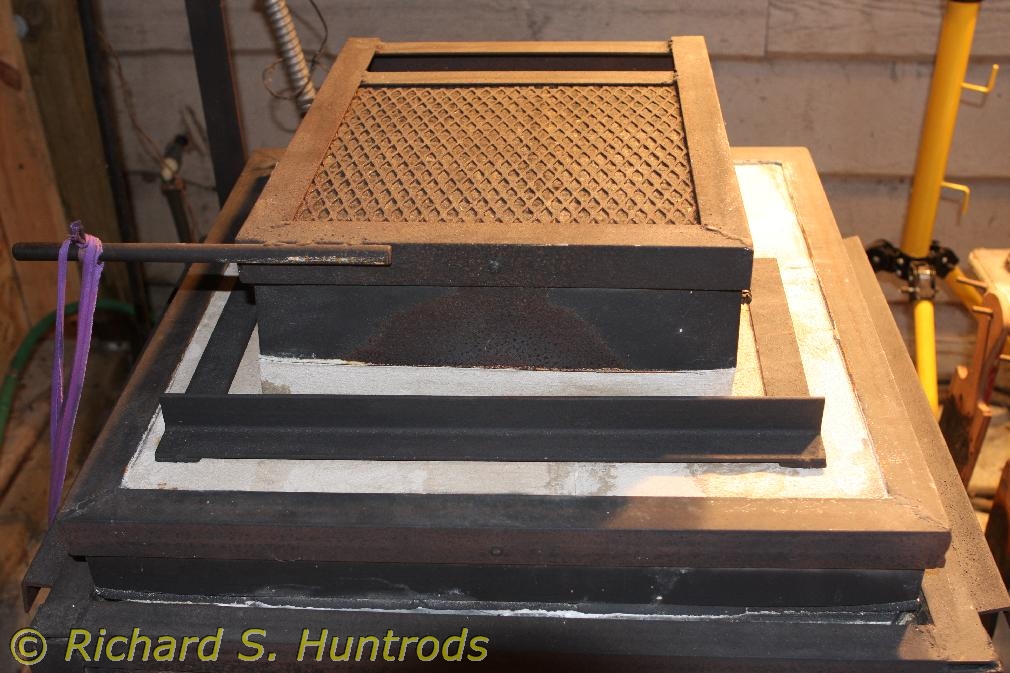
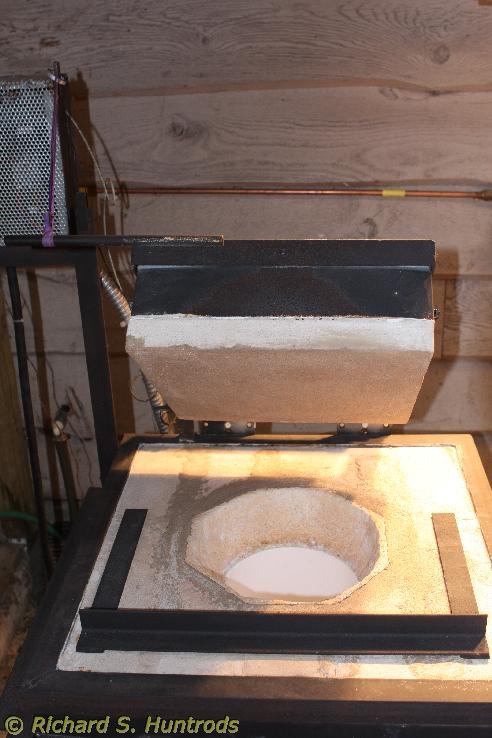
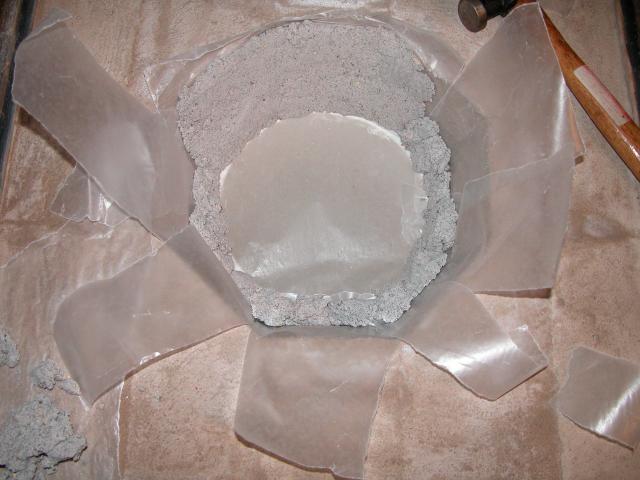
Now the furnace was ready for the lids and creation of the rammable gathering port. Rammable is a high alumina clay that fires to a very durable and glass resistant material. However, it must be worked into place by hammering as it is incredibly stiff. Once complete, the furnace is turned on and the rammable is heated to 250F and held there until all the water is removed, then it can be taken to temperature - slowly.


The glory hole air intake was a bit too long for the new alcove, so removed the rear-facing leg. The shorter path provided more pressure (no elbow) for the GH. After reassembling the components, it was time for a test.